How to: Add questions for better engagement
When producing scripture publications for enhanced Scripture Engagement, you may want to consider adding questions at appropriate points in the text which guide the reader to contemplate what they have just read.

PTXprint makes this possible by using a Module. A module is essentially a list of scripture passages interspersed with bridging text, or in this case, scripture engagement questions. The module is simply a text file which looks very similar to other scripture USFM, but it doesn’t need to contain the scripture itself, as that gets imported when it is printed. A well-designed module can be re-used across a variety of projects with just a few minimal adjustments. Read more about modules…
This page describes how to create a module with questions.
- If you don’t already have a Bible Module file from another source, it is easy to create your own using Paratext or just by using a plain text editor like Notepad. (Avoid using Word unless you know how to save the document as a plain text file.) Open Notepad and type in a few basic lines to get started as shown below:
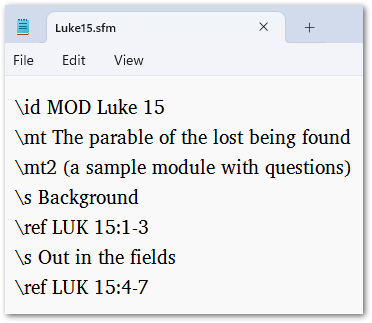
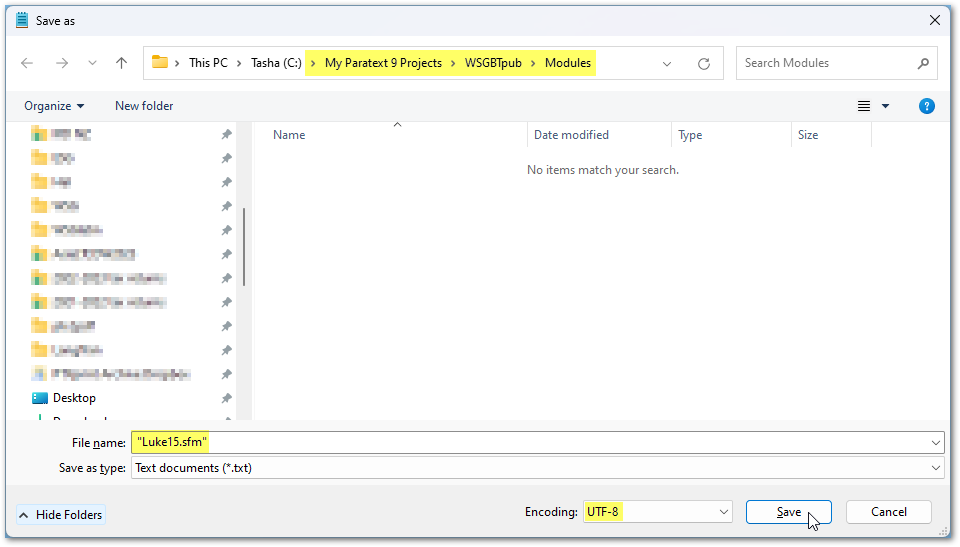
The \ref lines are instructions to import the specified text at that point. The other markers are used just like any other USFM markers (\mt = Main Title, \mt2 = 2nd level Main Title, \s Section Heading, and so on). - Make sure that you save the file you have created, using an .sfm extension is ideal, and it is recommended to place the file in a subfolder called “Modules” in your project within the “My Paratext 9 Projects” folder. Create the folder if it doesn’t already exist. [Alternatively, you can place it in the “_Modules” folder so that it is easily available to all the projects on your system.]
- Now back in PTXprint, you can just select that file as the Bible Module using the Choose… button on the right (as shown below). Note that once it has been selected, you may edit the file directly within PTXprint using the Edit… button. This will be handy later on as you enhance the module further.

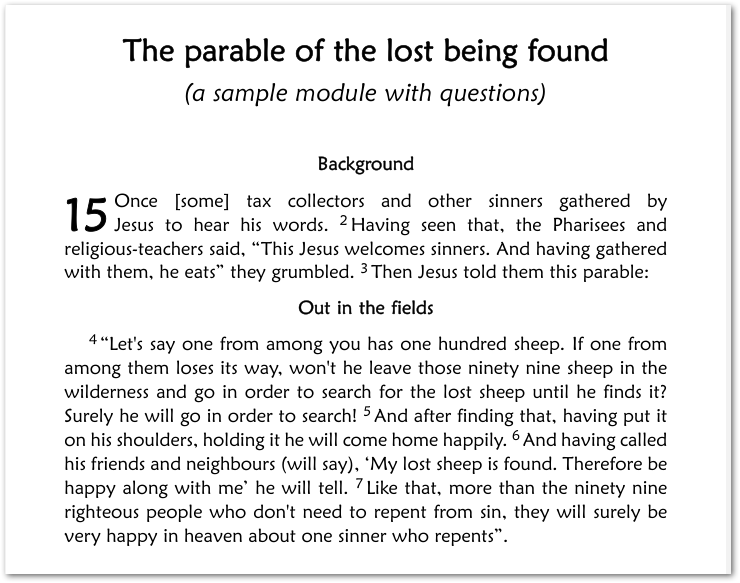
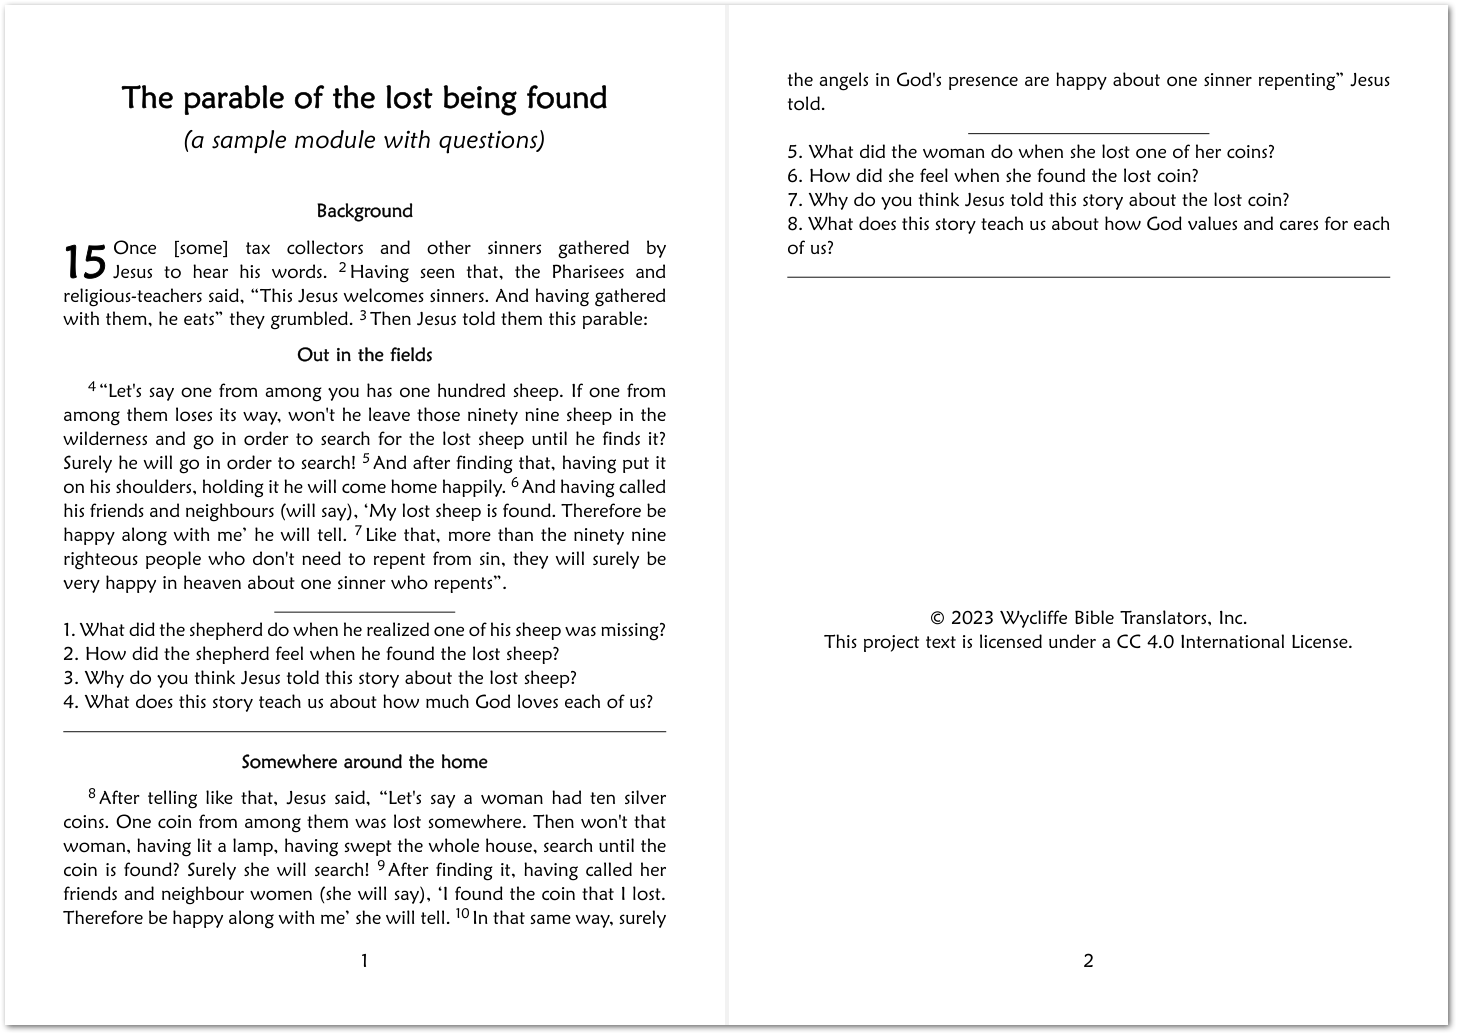
- Click on the Print (Make PDF) button and you should be able to see something like this below. Congratulations, you’ve made your first Bible Module!
- Now let’s add some questions and complete the rest of the module specification. Click on the Edit… button, to bring the View+Edit tab into focus and allow you to continuing editing the module specification:

- [Optional: There are some shortcut buttons on the right hand side that allow you to introduce special codes for rules, or sidebars.]
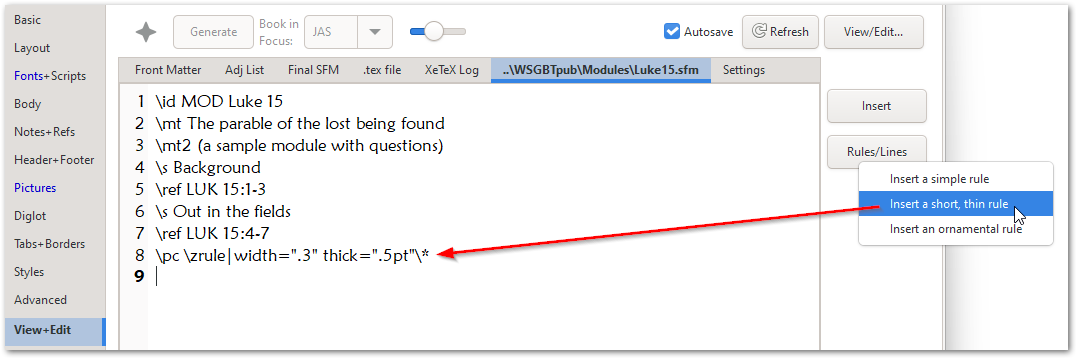
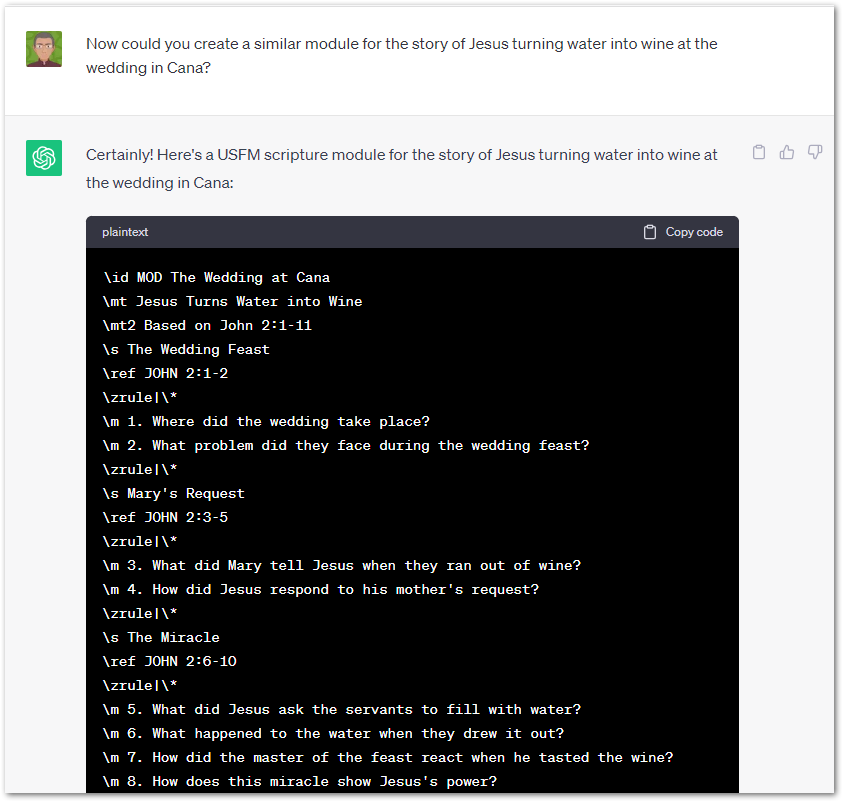
- Let’s type in some questions, and use the standard USFM codes as shown in the highlighted sections below:
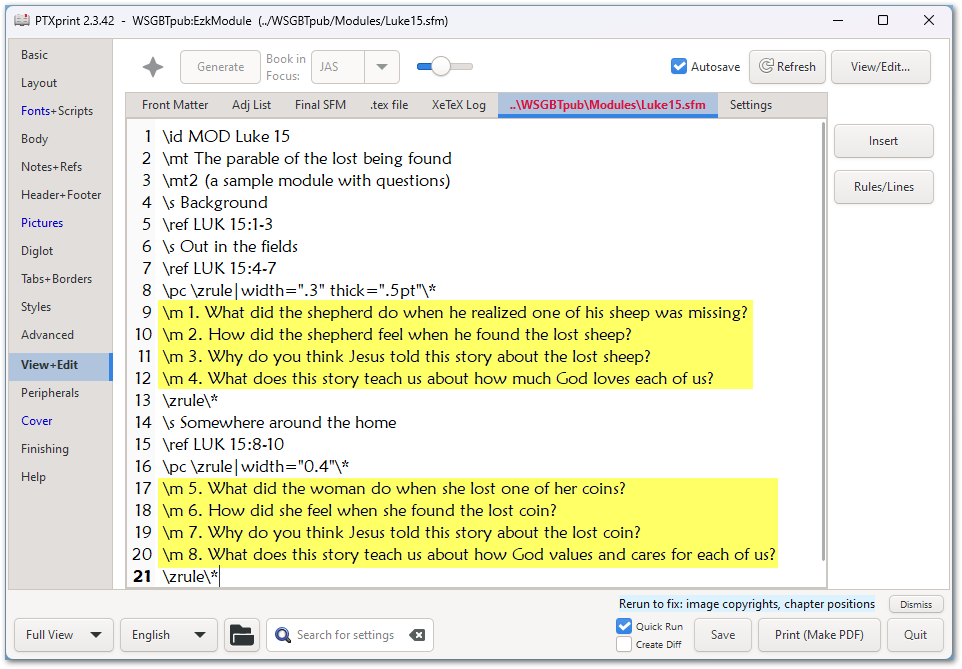
- This time when we click on Print (Make PDF) we should be able to see some more of the module taking shape:
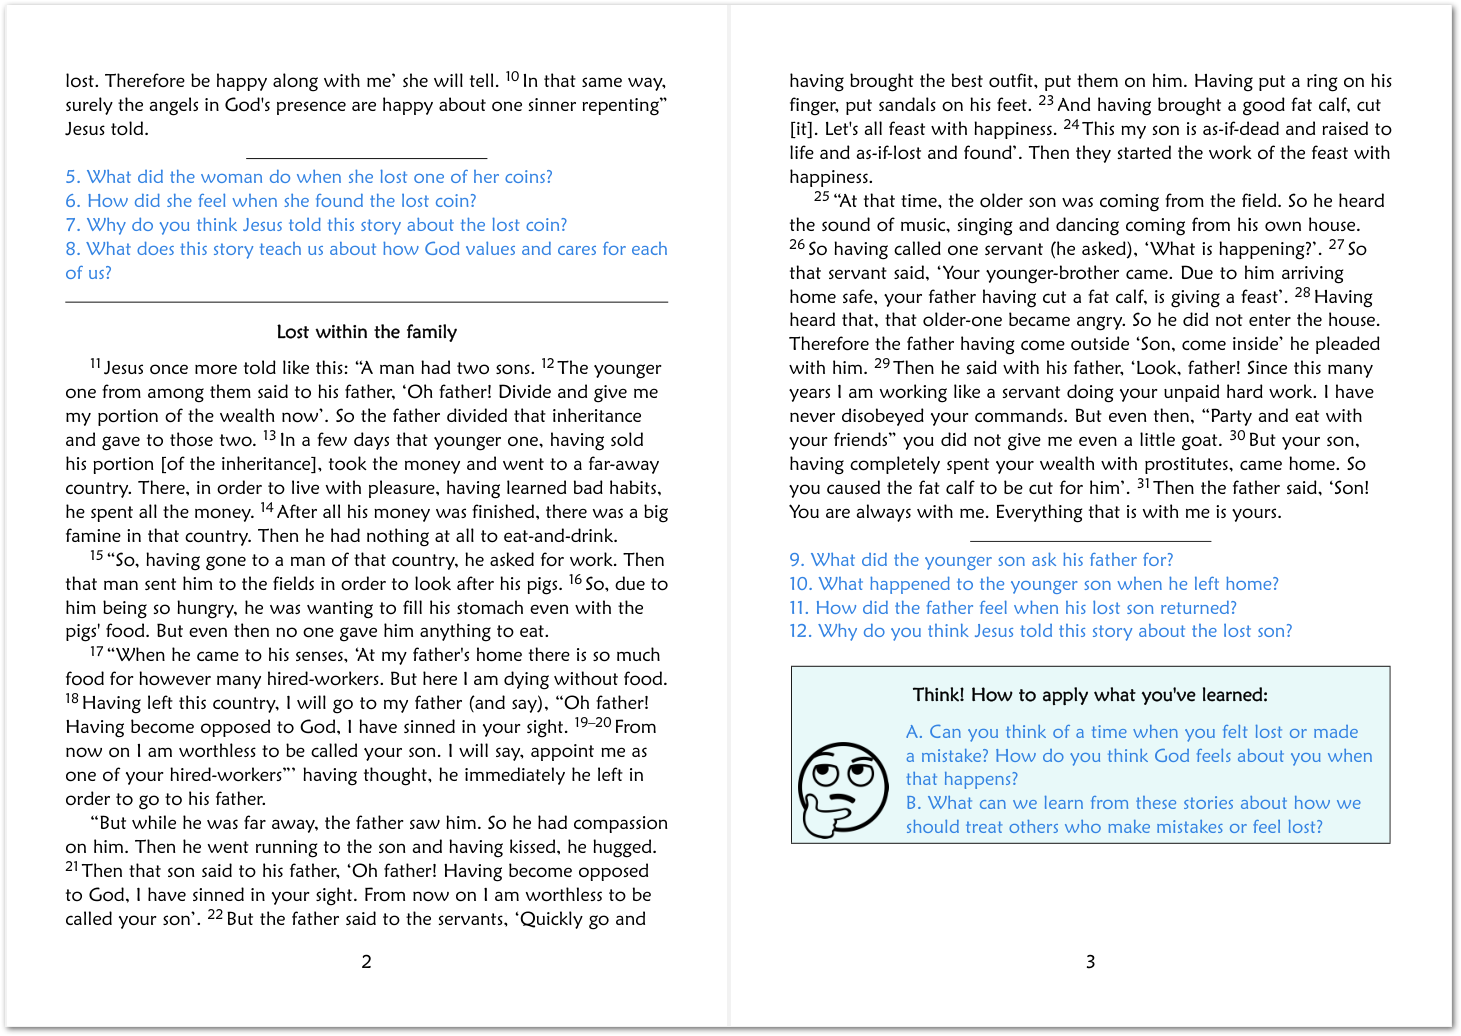
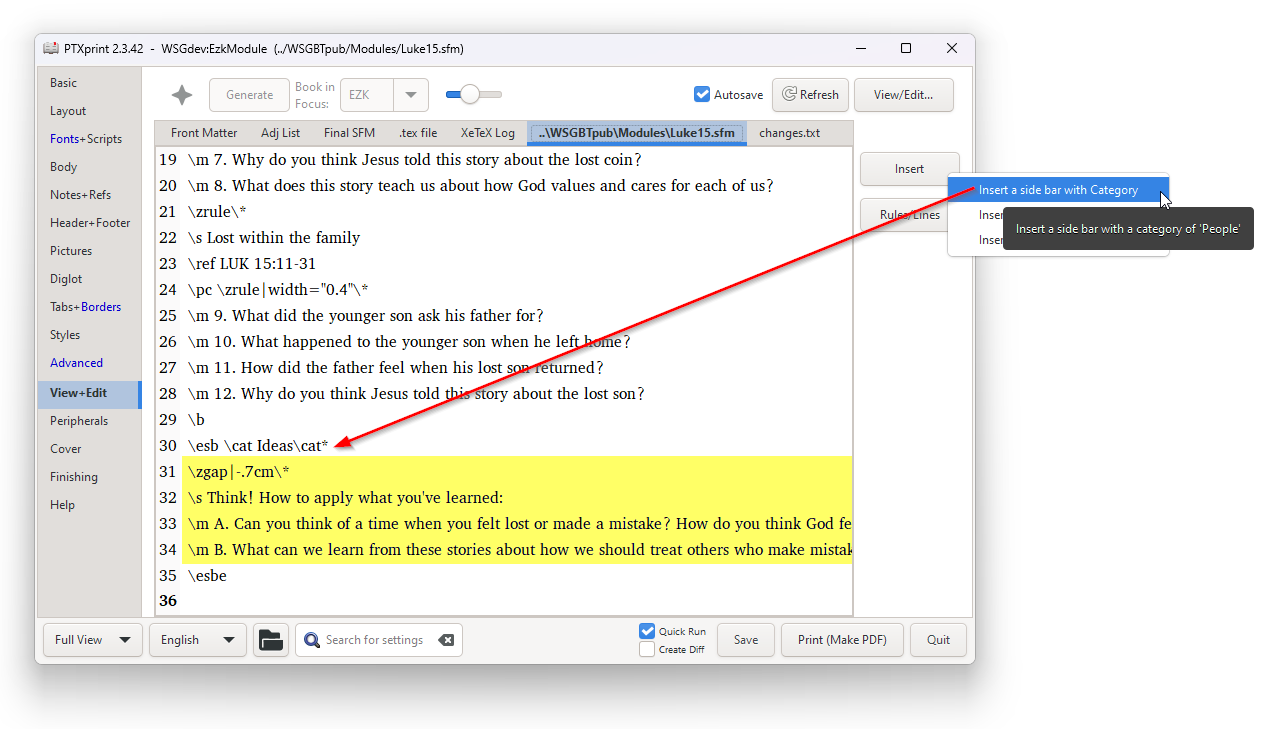
- Continue adding to the module until you are satisfied. Note that you can adjust the style of the \m marker to show the questions in a different color. Another option is to use a Sidebar to highlight different kinds of content. In the example shown below, application questions are shown along with a graphic:

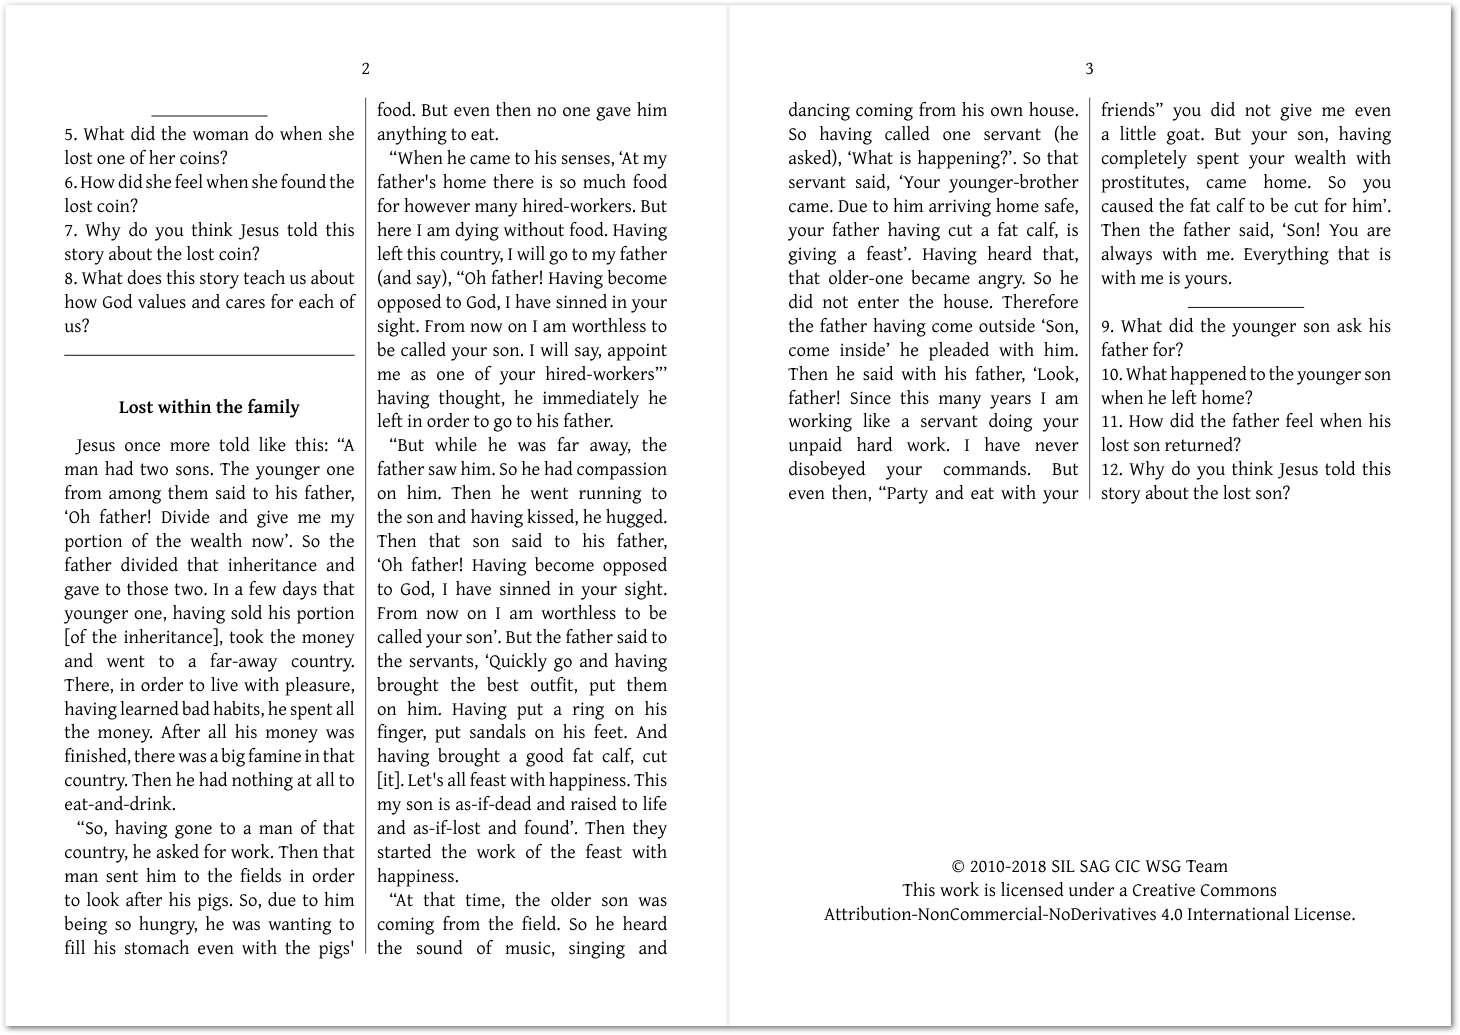
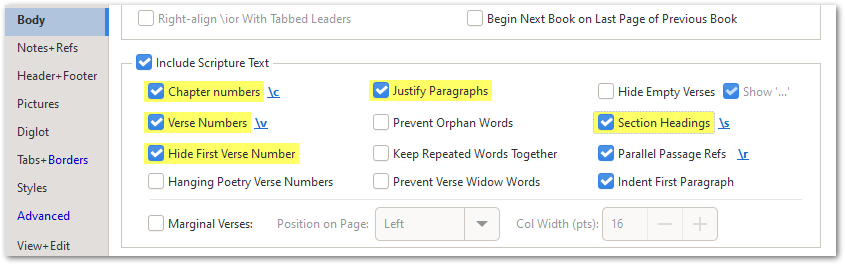
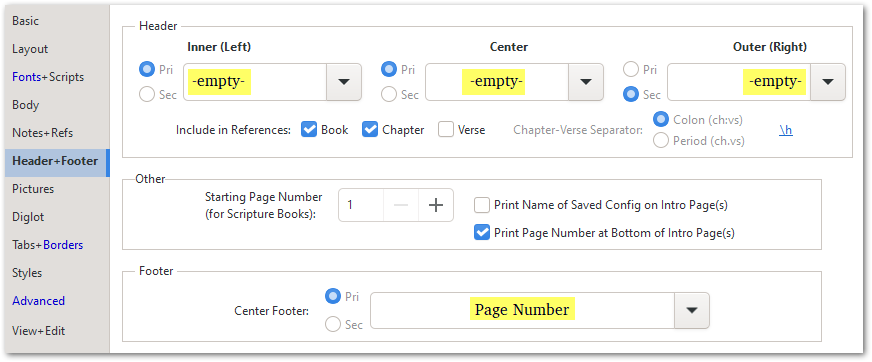
- Using the usual settings on the Body tab, you can choose whether Chapter and Verse Numbers and/or Section Headings need to be included or not.
- Similarly, you may prefer to just have page numbers at the bottom of the page, with no references at the top:
- A sidebar \esb …some content finally closed with… \esbe can be set up using the template as indicated below:
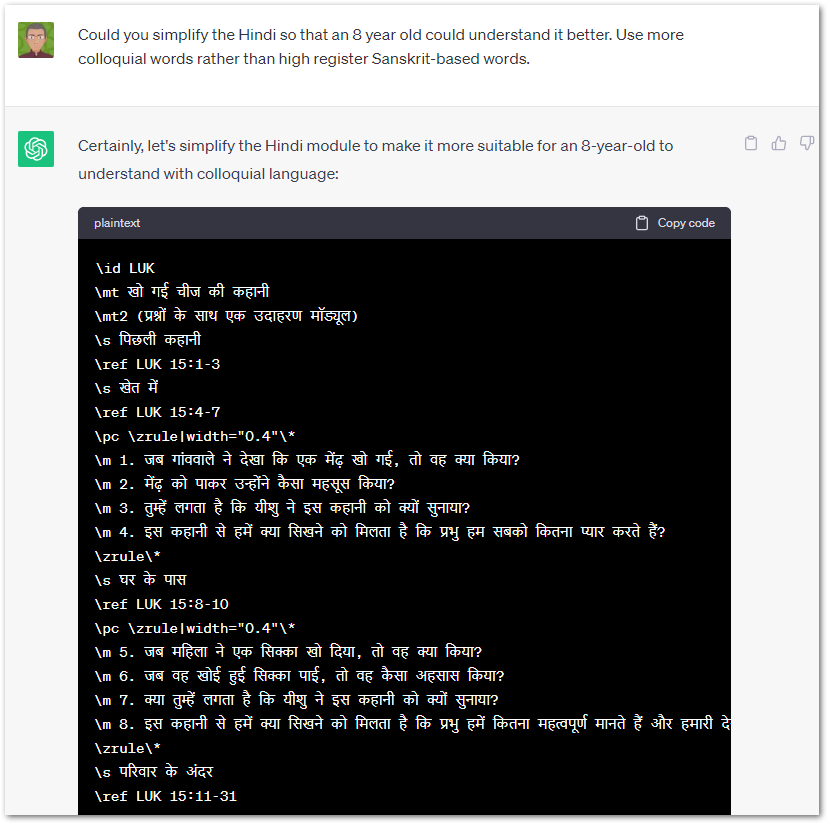
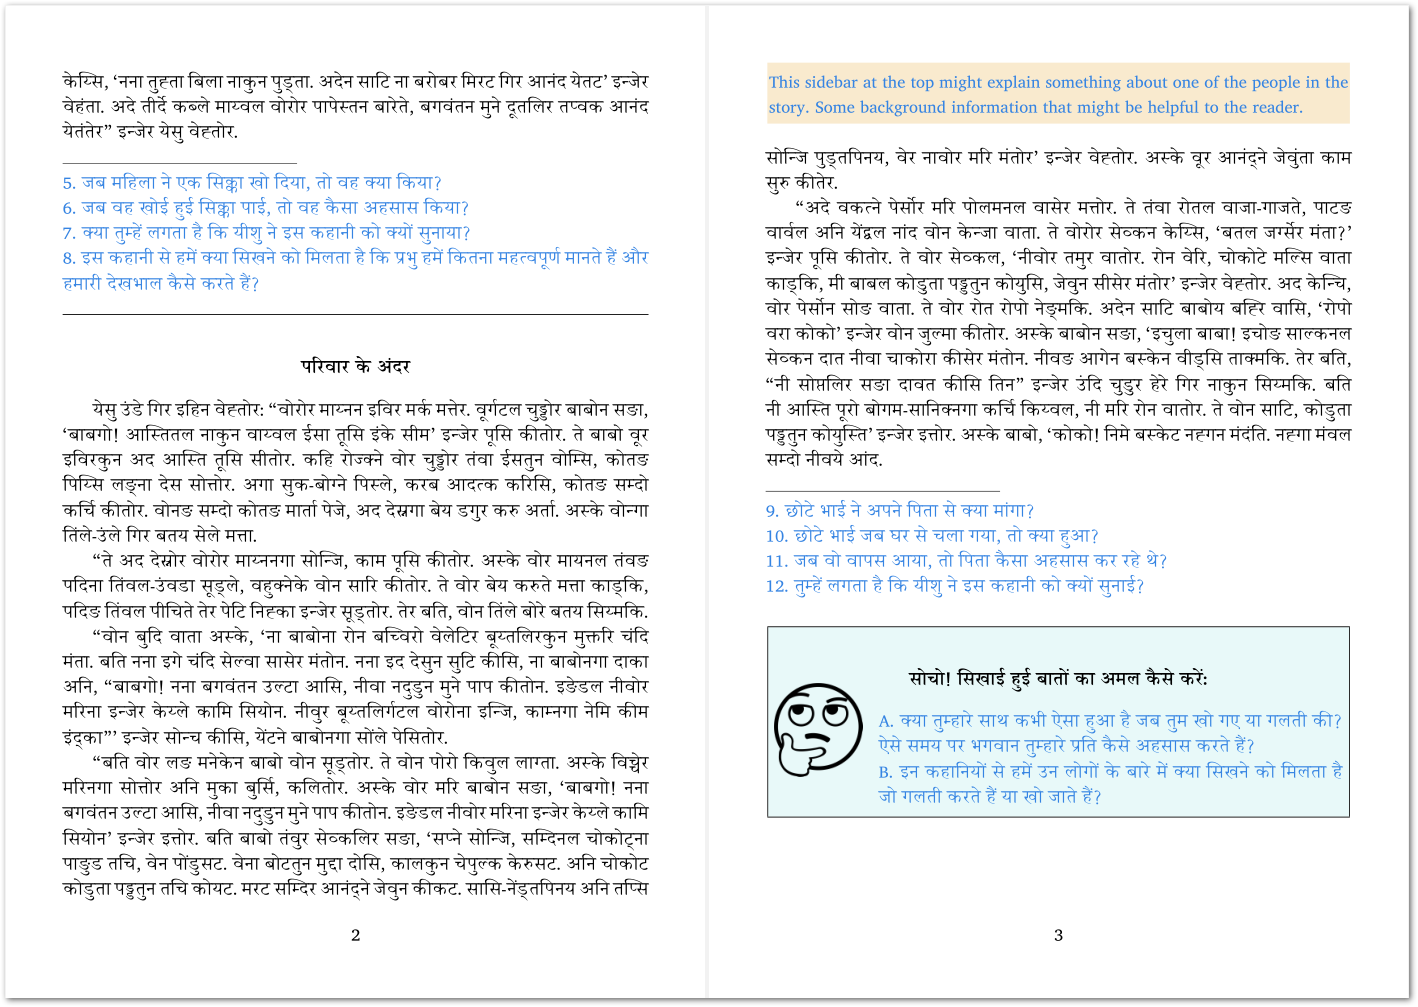
- In summary, the module just tells PTXprint what elements you want in the publication, and can work in any language. Shown below is the same module translated into a South Asian language (and saved with a modified file name). Notice that the \ref references need to remain as roman text (LUK 15:1-3, etc.) in order for the text to be imported correctly. Only the \mt, \mt2, \s and \m lines need to be translated.
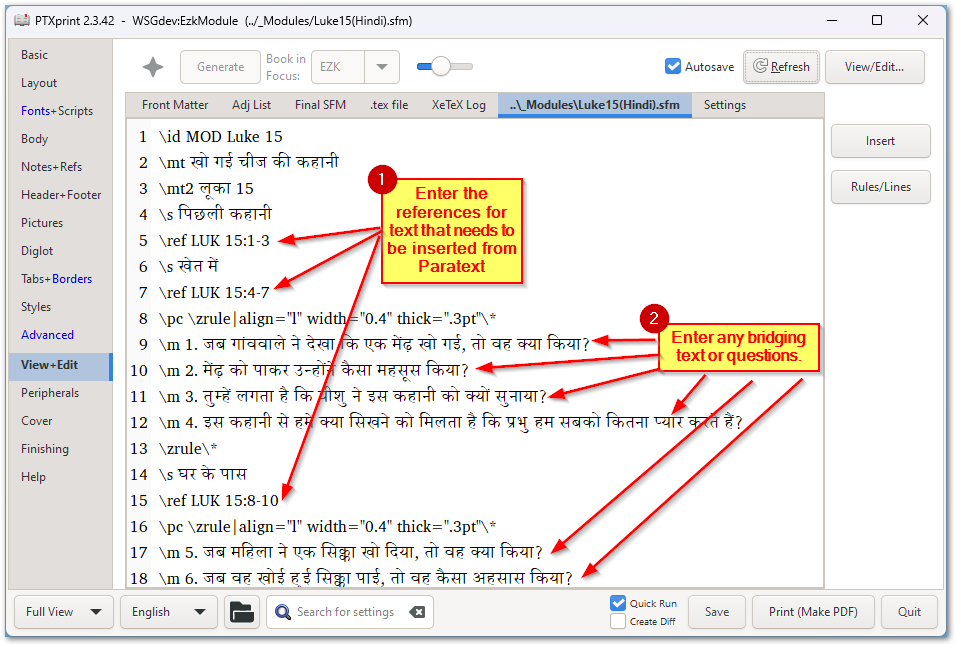
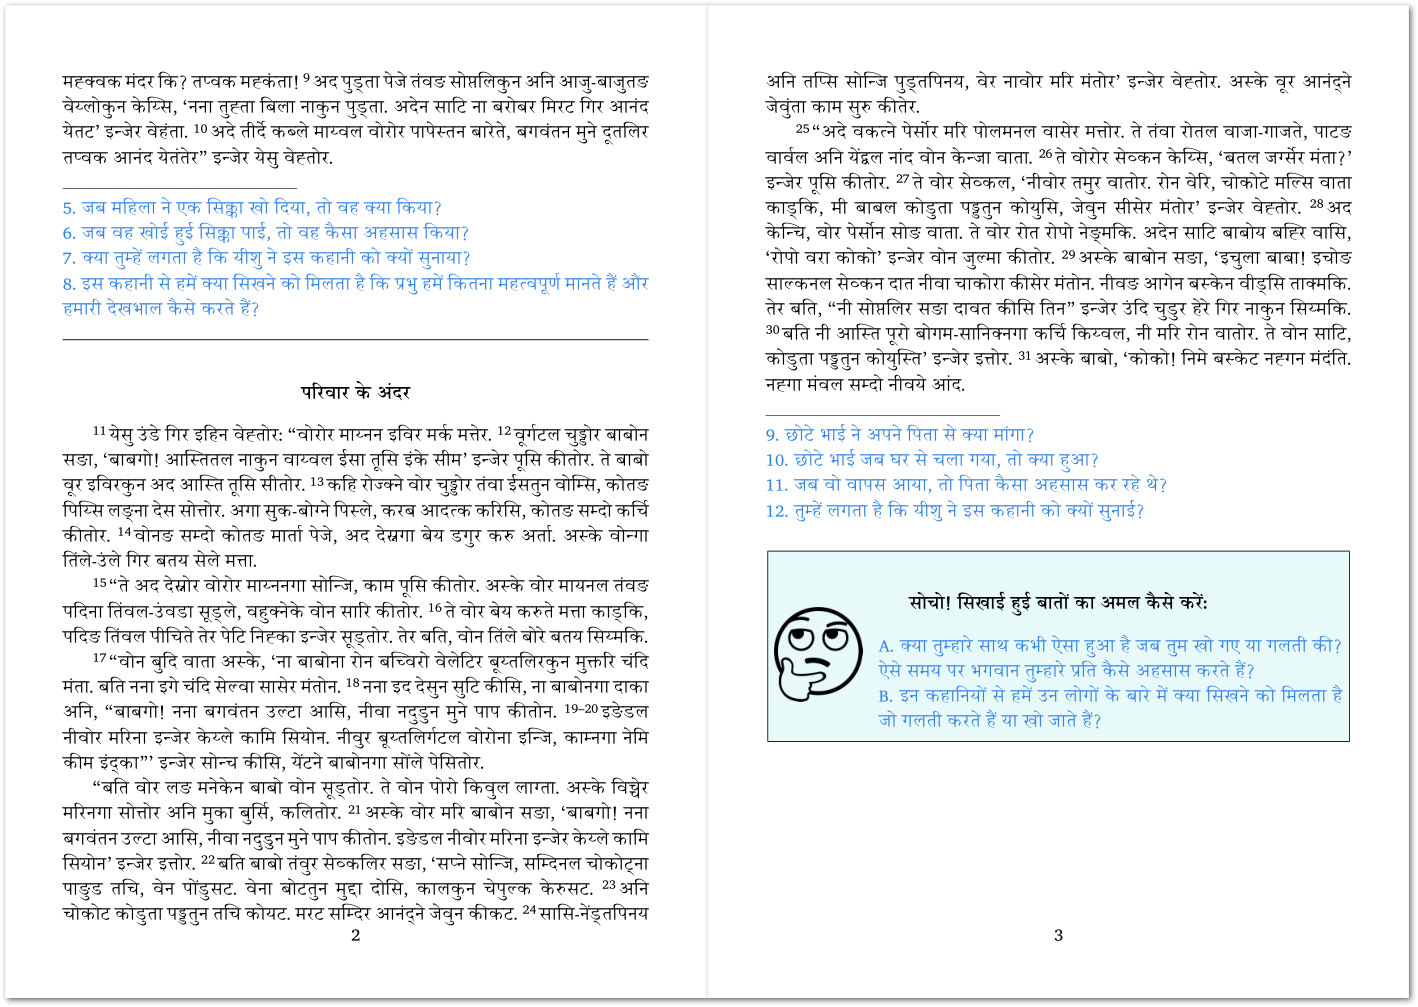
- The resulting PDF looks remarkably like the English one generated above, but is in a whole different language, with minimal work.
Getting help with creating more modules