How to: Generate Table of Contents
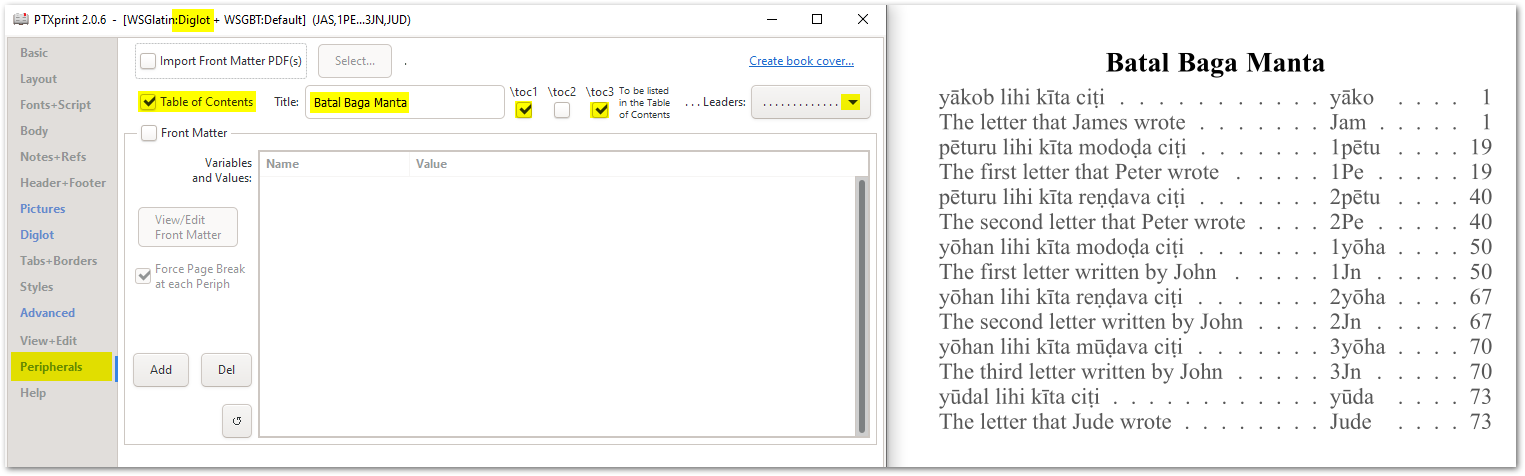
On the Peripherals page, check (tick, or turn ON) the option for Table of Contents, as shown below. Then select which \toc values you want to include, and choose the Leaders (if any).

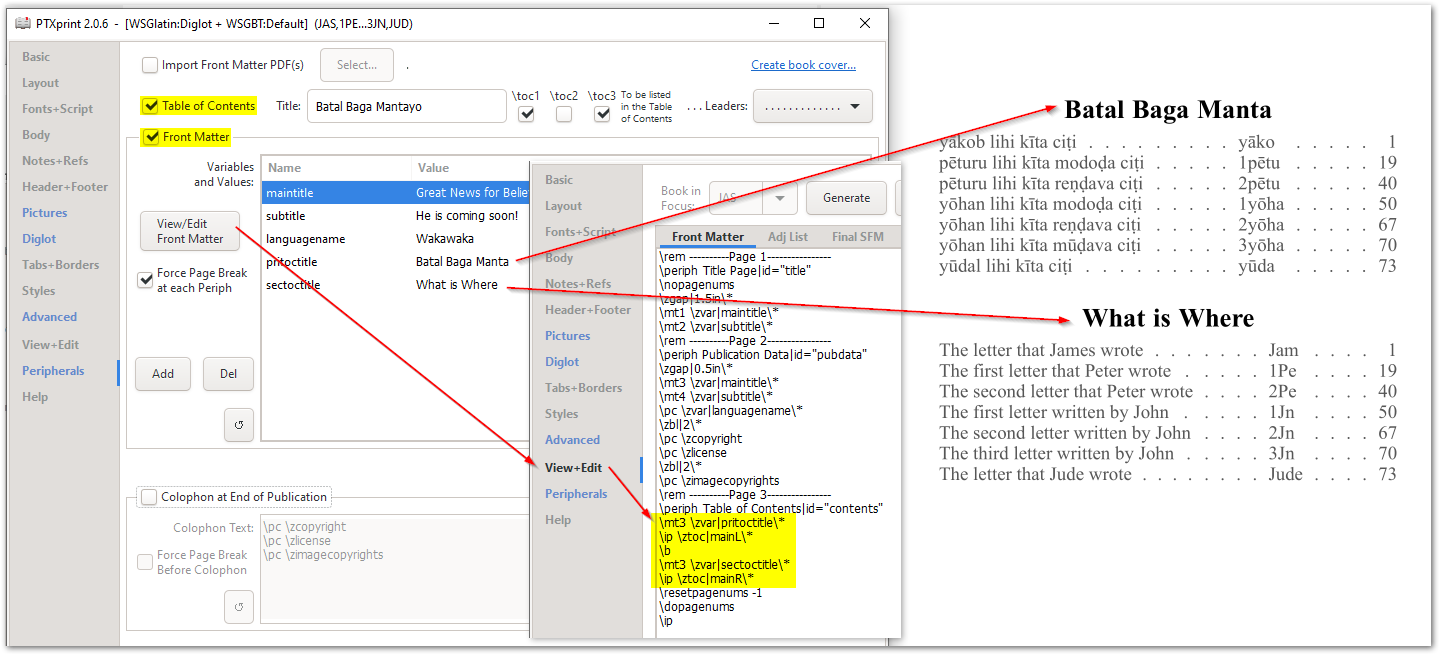
For larger, and more complicated documents, the generated Table of Contents feature has a number of additional options. By editing the Front Matter, you can specify exactly what you want to see in the generated Table of Contents (ToC). This is done by using the \ztoc|<keyword>\* marker.
The primary, all-inclusive table of contents uses the keyword: main (this is what is generated when the option above is checked).
So, having \ztoc|main\* in your front matter will generate a ToC containing everything (including L(pri)/R(Sec) entries for diglots) at the specific location specified.
There are various other subsets ToCs possible:
- pre – any book prior to scripture (FRT, INT)
- ot – only Old Testament books are listed
- dc – only Deutero Canonical books are listed
- nt – only New Testament books are listed
- post – books that occur after REV (GLO, BAK, TDX, NDX, XXA-G)
- sorta – alphabetical (main) list sorted by \toc1
- sortb – alphabetical (main) list sorted by \toc2
- sortc – alphabetical (main) list sorted by \toc3
When creating a Diglot publication, the default setting isn’t particularly helpful for readers (as every other line is a different language):
So any of the above codes can have L or R appended to them to produce a filtered list, either Pri-specific (L) or Sec-specific (R) table of contents.
For example, in a diglot where L is the main translation, and the secondary text, represented by R, is in English:
\mt3 Batal Baga Manta
\ip \ztoc|mainL\\*
\b
\mt3 What is Where
\ip \ztoc|mainR\\*
This would create 2 tables, showing all the books with a blank line \b betwen the two tables. (You could use \pb instead of \b to force a new page).