Launching the Labeler
Starting the Application
On Windows, the Paratext Diagram Labeler should appear in your Start menu, or you can run the executable from wherever you installed it.
You will see the “pre-Launch” screen that contains the context that the Paratext 10 extension will (in the future) provide:
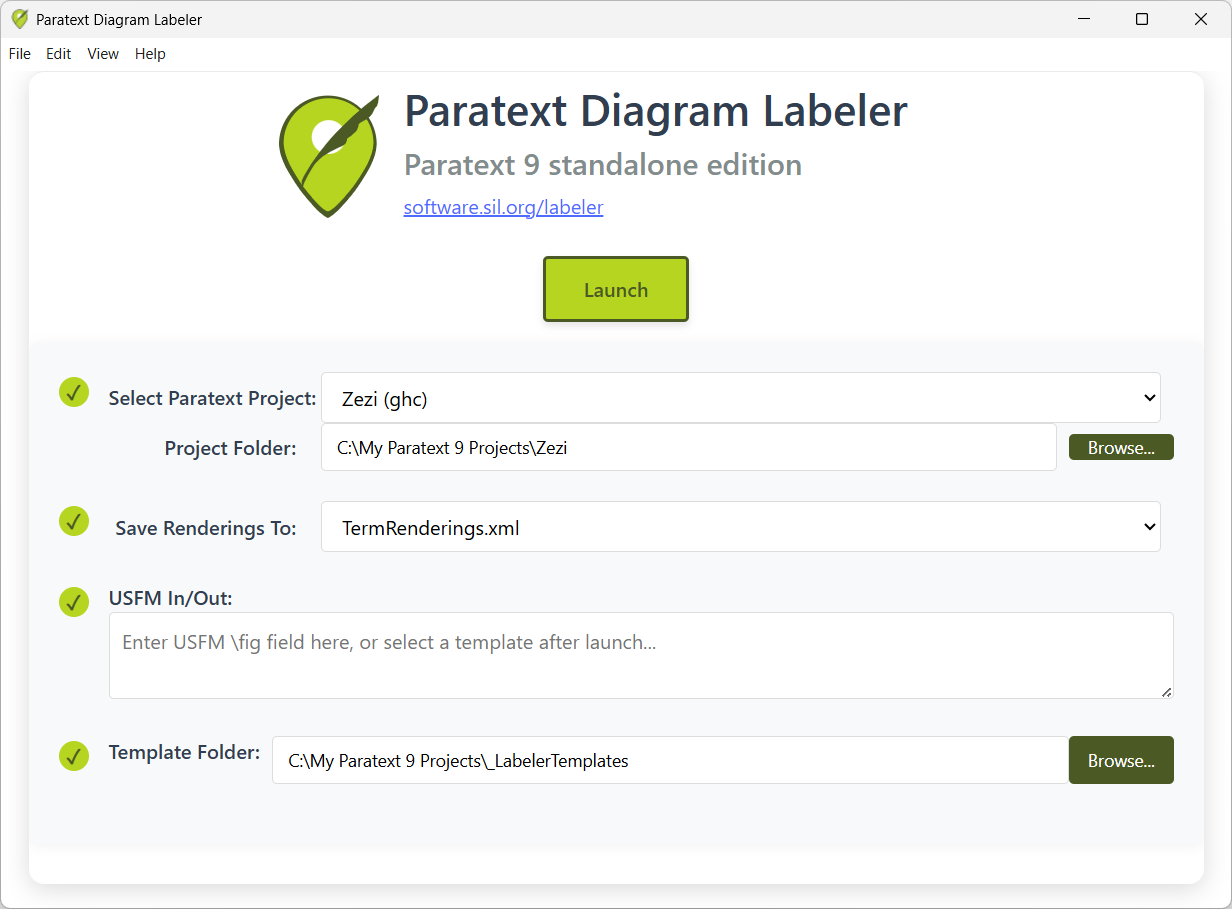
Settings
Select Paratext Project
Select an installed Paratext project from this list. Doing so automatically sets the Project Folder.
Project Folder
Optionally, you may manually specify the full path to any Paratext project folder, even if Paratext is not installed on this system. E.g. “C:\My Paratext 9 Projects\Zezi”.
Save Renderings To
If you don’t want the Labeler to directly modify your TermsRendering.xml file (that Paratext uses), select TermsRenderings-Demo.xml instead. Once you’re satisfied with the changes to this file, you can replace your original TermRenderings.xml file with it.
USFM In/Out
If you paste a USFM representation of a diagram into this space, Labeler will use it when launched. Clicking the OK button after Labeler is launched will return the diagram’s USFM representation. It will persist there for subsequent uses of the Labeler, or you can copy and paste it into an appropriate location in your Paratext project.
If this area does not contain relevant USFM, you’ll be prompted to browse for a diagram template when you click the Launch button.
Template Folder
The installer initially places the templates folder (_LabelerTemplates) in the same folder as the Paratext Diagram Labeler executable. It’s recommended that you leave it there, so that when you install an updated version, you’ll be able to immediately use the updated files.
Once these settings provide the necessary context for the Labeler, click the Launch button.